Deploy MicroProfile application on Heroku
In this tutorial we will learn how to deploy our MicroProfile application on Heroku and we will use Payara Micro as our application server.
Heroku is a cloud platform as a service (PaaS) supporting several programming languages and I've been using it for several years without any problems.
Tools You Will Need
Maven 3.3+
Your favorite IDE. I'm using NetBeans
JDK 1.8+
Git
Create a Heroku account:
visit https://signup.heroku.com/dc and create a free acount.
Install Heroku CLI on macOS:
On macOS run the following command in your terminal:
$ brew install heroku/brew/heroku
If you are using Linux or Windows visit Heroku set up page to download the installer for your platform.
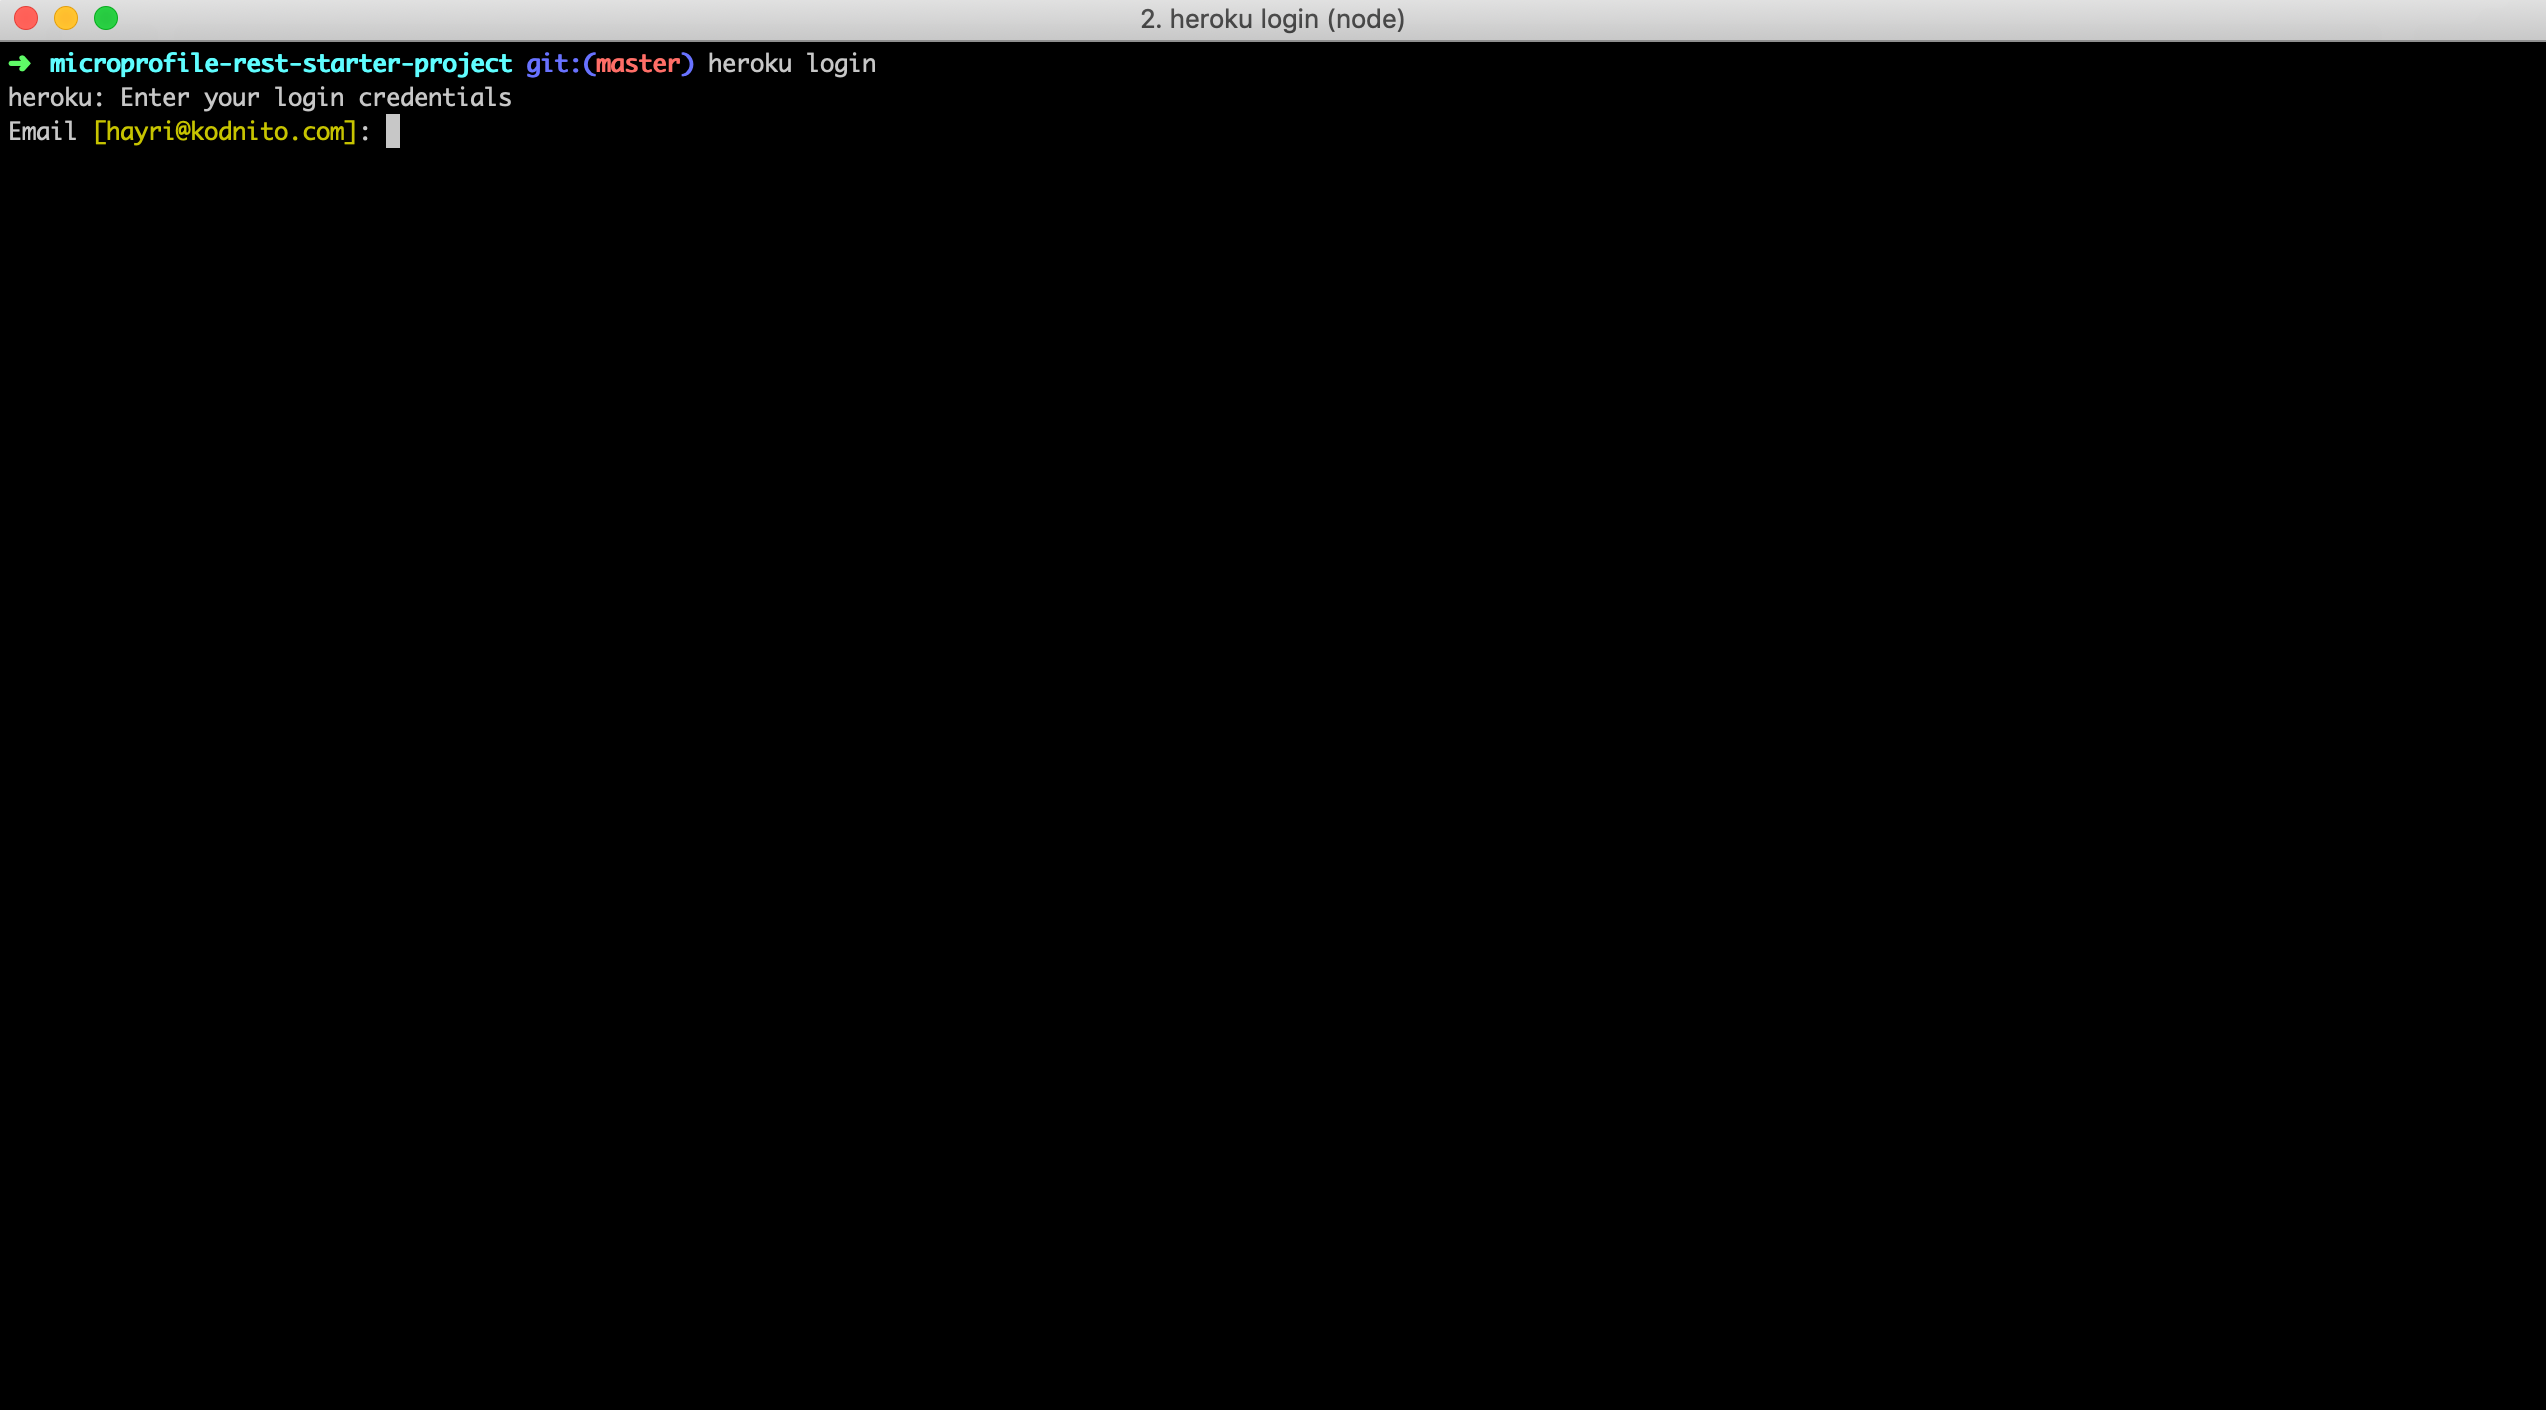
Now that we have installed Heroku we can log in and create an app on Heroku.
In your terminal type the following command with email and password you used when creating Heroku account:
$ heroku login
Clone the MicroProfile Starter Project from Github
$ git clone https://github.com/cicekhayri/microprofile-rest-starter-project.git
Download Payara Micro
Go to https://www.payara.fish/payara_micro and download Payara Micro jar file.
Create lib folder inside the project directory and copy the Payara Micro jar file to the directory
Inside project directory create Procfile and add the following:
web: java -jar lib/payara-micro-5.183.jar --deploy target/restapi.war --port $PORT
Procfile is used to specify commands that are executed by the app's dynos.
Containers at Heroku are called dynos and those are isolated, virtualized Linux containers designed to execute code based on commands user specifies.
Your project directory should look like this:
tree .
.
├── Procfile
├── README.md
├── lib
│   └── payara-micro-5.183.jar
├── pom.xml
└── src
    └── main
        ├── java
        │   └── com
        │       └── kodnito
        │           └── restapi
        │               └── rest
        │                   ├── ApplicationConfig.java
        │                   └── HelloWorldEndpoint.java
        ├── resources
        └── webapp
            └── WEB-INF
                └── beans.xml
Deploy the app:
The first thing is to create an application on Heroku:
$ heroku create microprofile-on-heroku
Now deploy the code:
$ git add .
$ git commit -m 'deploy on heroku'
$ git push heroku master
Now it's time to see if everything is working, your application url will be {appname}.herokuapp.com/restapi/api/hello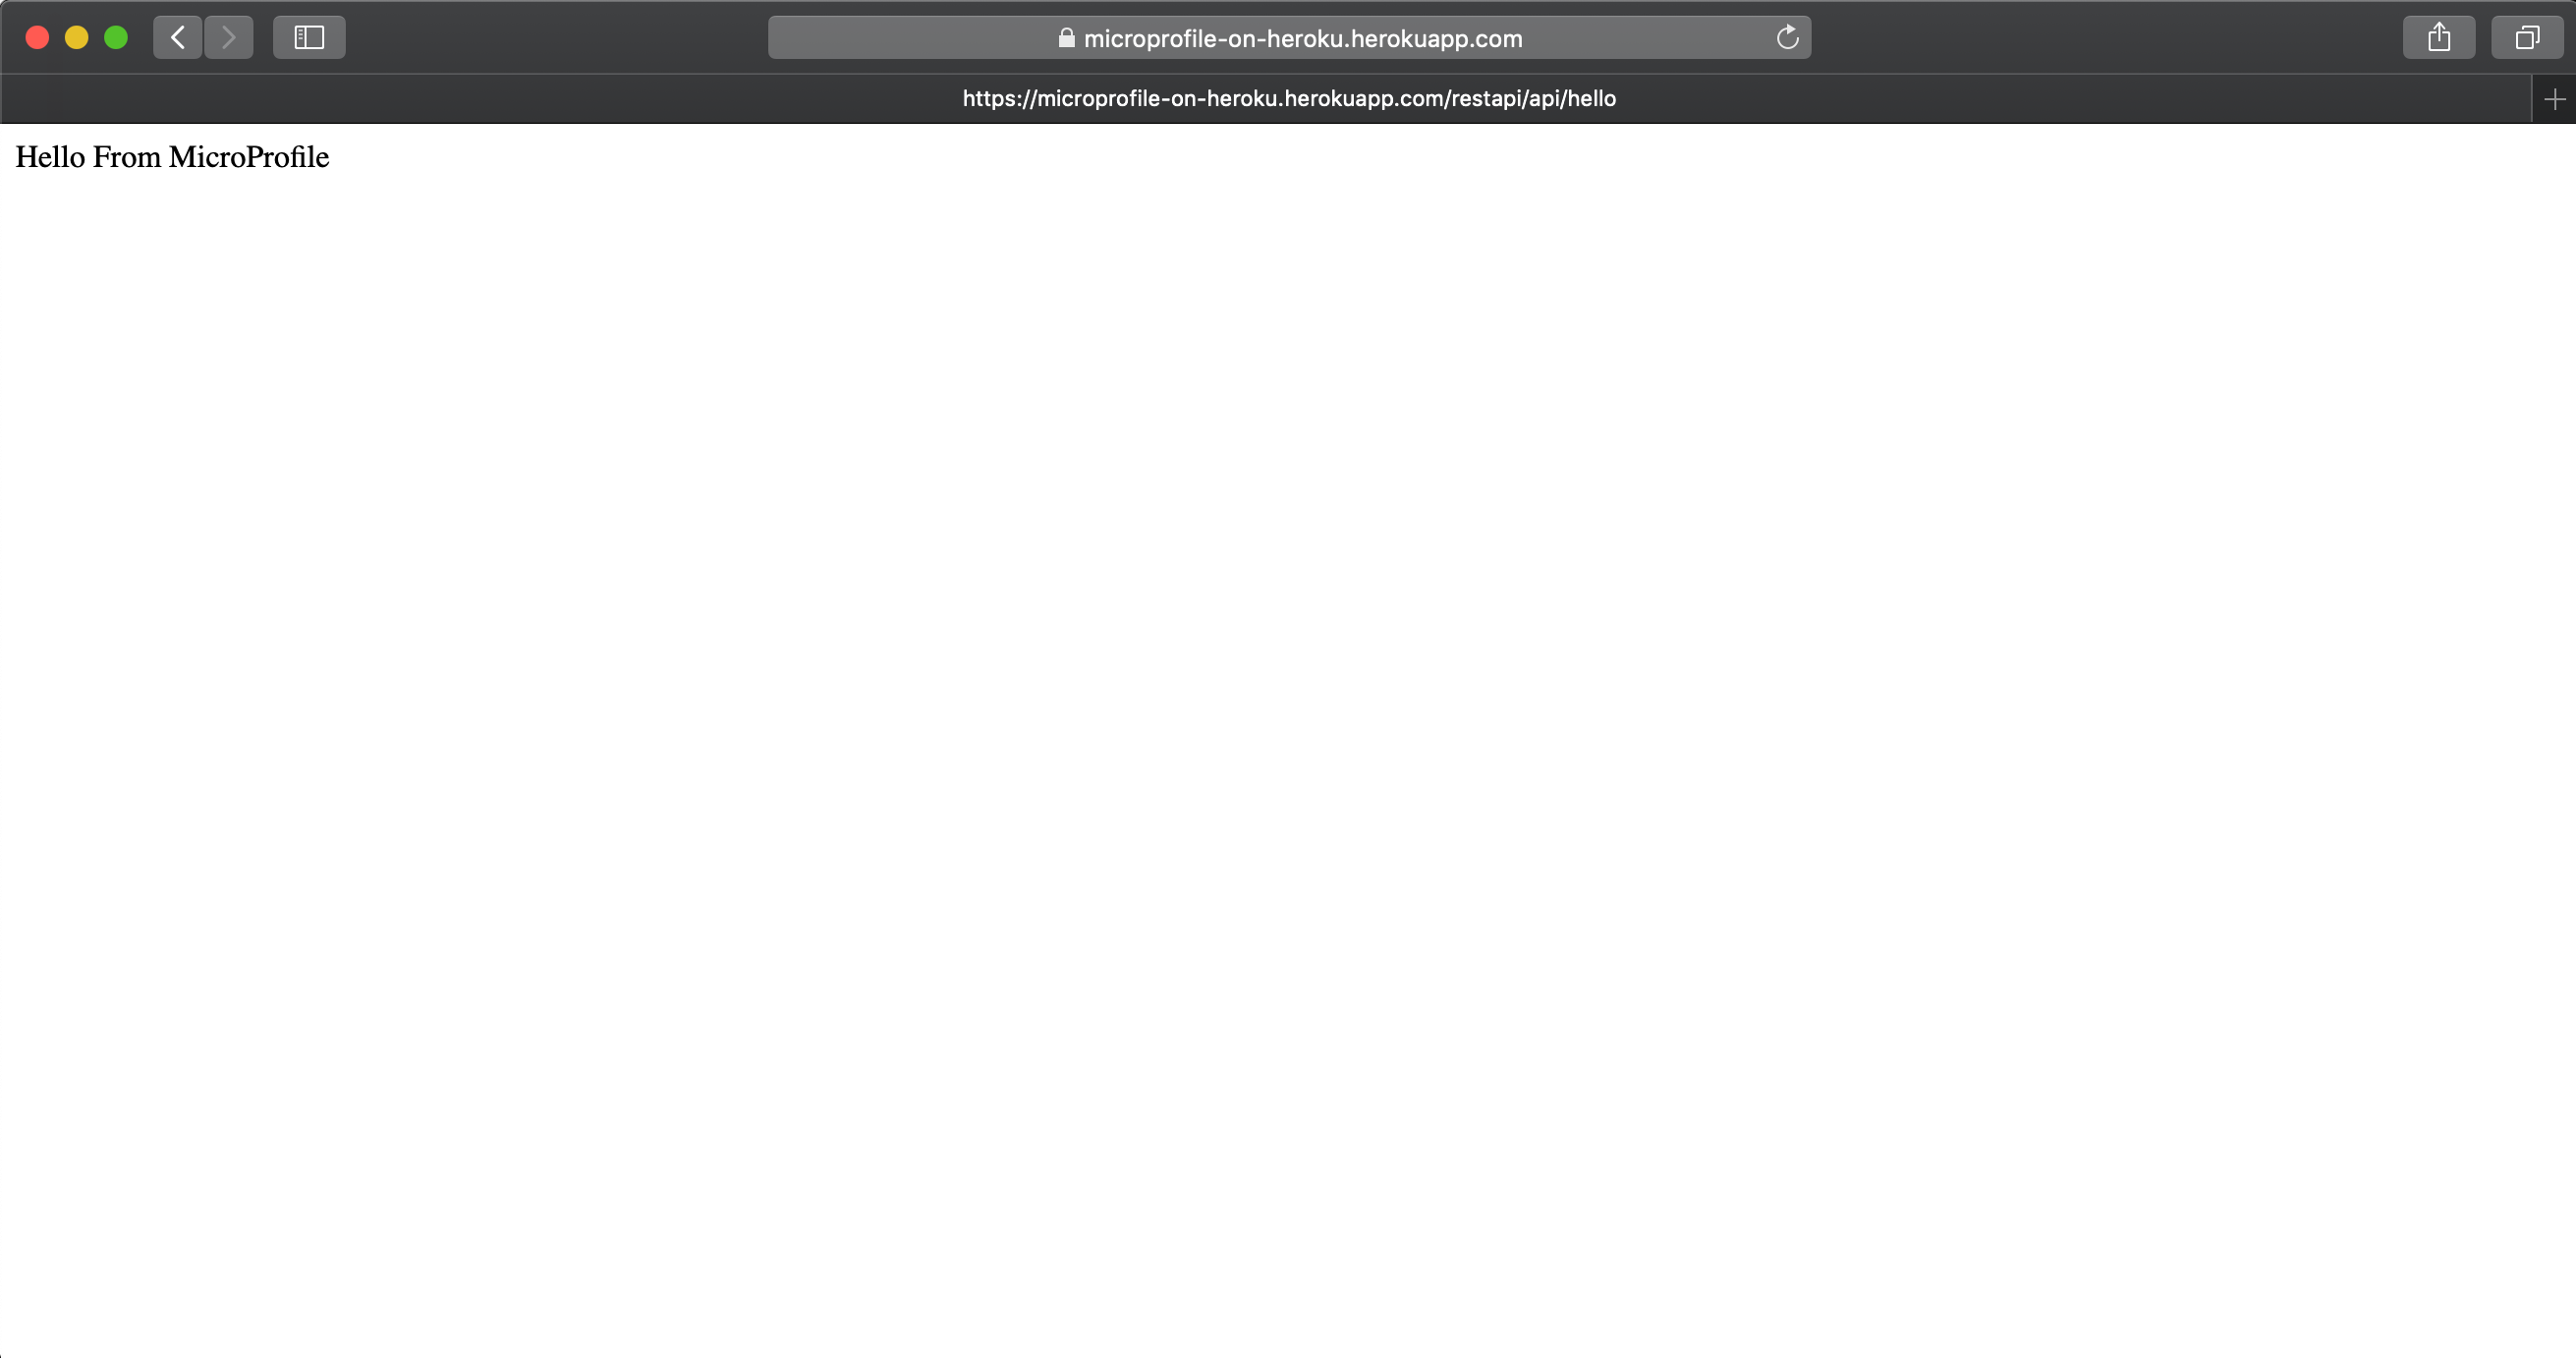
Share this: