Upload Images to Cloudinary from Django Application
In this tutorial, we will learn how to upload images to Cloudinary from a Django application.
Sample Project
$ mkdir upload-to-cloudinary && cd upload-to-cloudinary
$ pipenv install django
$ pipenv shell
$ django-admin startproject config .
$ python manage.py startapp uploads
from django.db import models


class Upload(models.Model):
    title = models.CharField(max_length=100)
    image = models.ImageField(upload_to='images/')

    def __str__(self):
        return self.title
INSTALLED_APPS = [
    ...
    'uploads.apps.UploadsConfig',
]
$ pipenv install Pillow
$ python manage.py makemigrations
TypeError: argument of type 'PosixPath' is not iterable
DATABASES = {
    'default': {
        'ENGINE': 'django.db.backends.sqlite3',
        'NAME': str(BASE_DIR / 'db.sqlite3'),
    }
}
$ python manage.py migrate
Type the following command to create a superuser:
$ python manage.py createsuperuser
Run the development server:
$ python manage.py runserver
There was not much here, if you open uploads application, you can see that there is a file called admin.py, and this is where we can tell Django which models we want to be shown in the admin.
Every application will have admin.py file.
Now open admin.py and make it look like this:
from django.contrib import admin

from .models import Upload


admin.site.register(Upload)

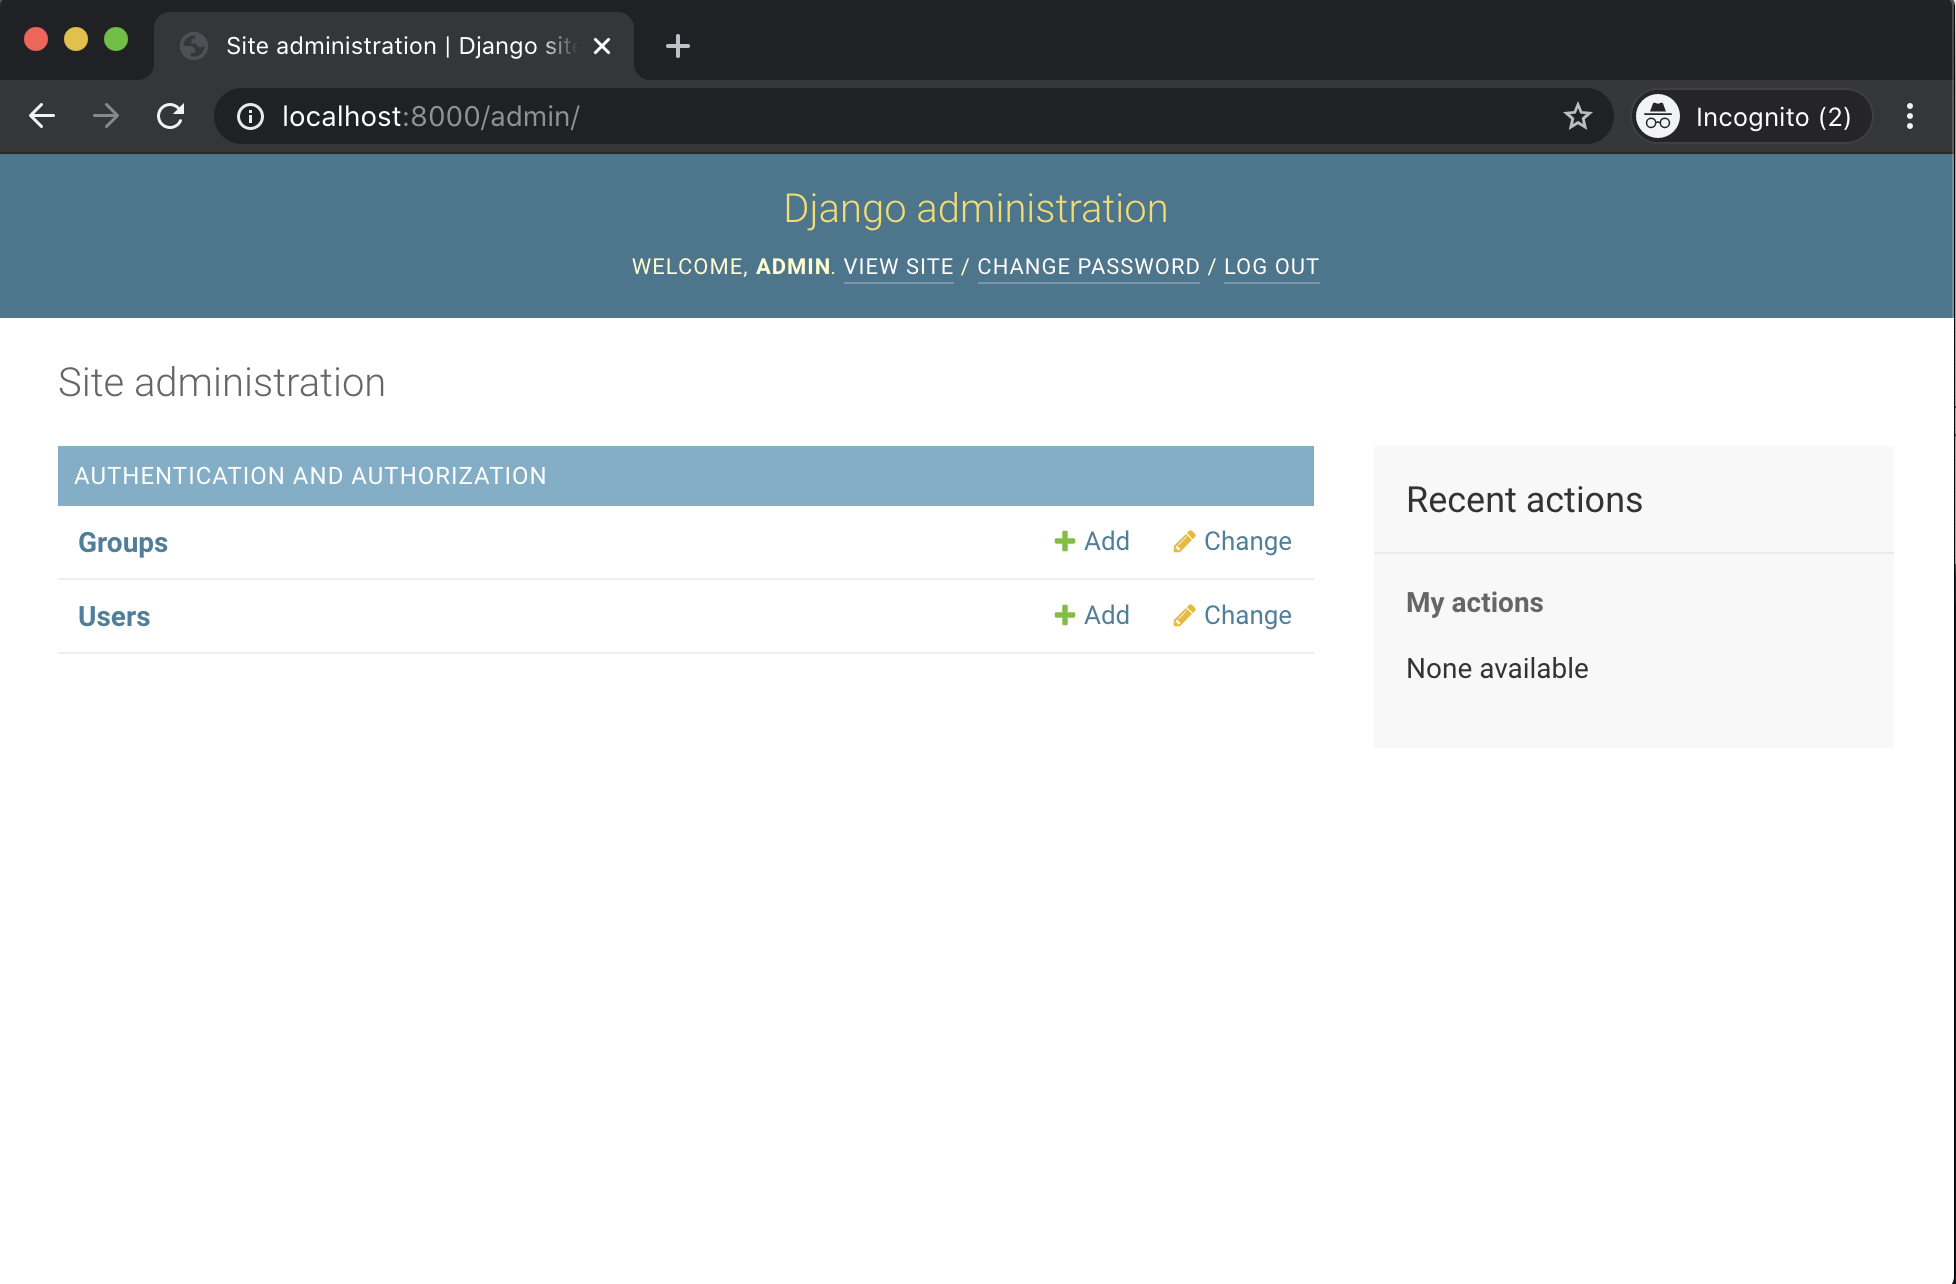
Now when you refresh the admin page, you will see that our Upload model appears.
Try uploading a file, if everything works then you should have a new folder called images and your uploaded image inside.

Cloudinary
Create an account at https://cloudinary.com/
Next install the cloudinary dependencies:
$ pipenv install cloudinary dj3-cloudinary-storage
INSTALLED_APPS = [
    ...
    'cloudinary',
]

CLOUDINARY_STORAGE = {
    'CLOUD_NAME': 'YOUR CLOUDINARY CLOUD NAME',
    'API_KEY': 'YUOR CLOUDINARY API KEY',
    'API_SECRET': 'YOUR CLOUDINARY API SECRET KEY',
}

DEFAULT_FILE_STORAGE = 'cloudinary_storage.storage.MediaCloudinaryStorage'
Try upload a new image, and if everything works then you have successfully stored your new image on Cloudinary.
You can verify that your new image is uploaded by going to https://cloudinary.com/ -> Media Library -> images.
Share this: